VSCO |
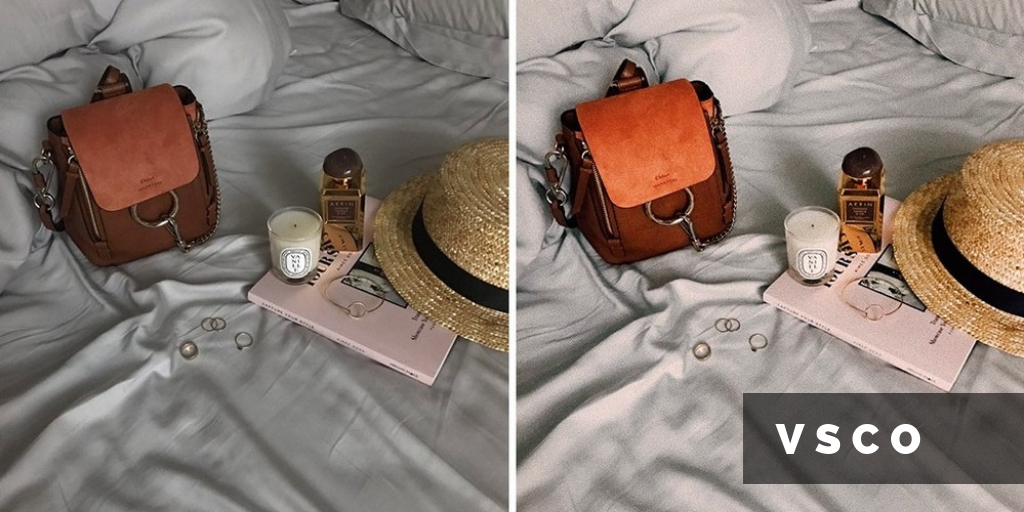
Despite this, Instagram hasn't lost its popularity among those who just want to share photos with each other. Because of this, the demand for various apps has greatly increased, using which one can significantly expand the functionality of this social network in photo processing capabilities. One of the most popular programs is VSCO. And, I must say, this editor's success is seriously justified.
This program is designed for even an amateur will have an opportunity to edit photos like a real professional.
Incidentally, this editor came to taste not only connoisseurs of beautiful photos. Those who are promoting their Instagram account, including people who are using it for making money, also appreciate it. Many who are far from design and passion for professional photography, can create a really stylish profile with posts.
For edicting the raw content and create separate colorful photos or full collages, VSCO program uses pre-installed presets.
Photo editing using presets
- To start working with this app, you must first download it in any official stores - App Store and Google Play.
- After that, it's required to pass a quick registration.

- Then you get into this program's main menu. Photo processing is performed in “Studio” section.
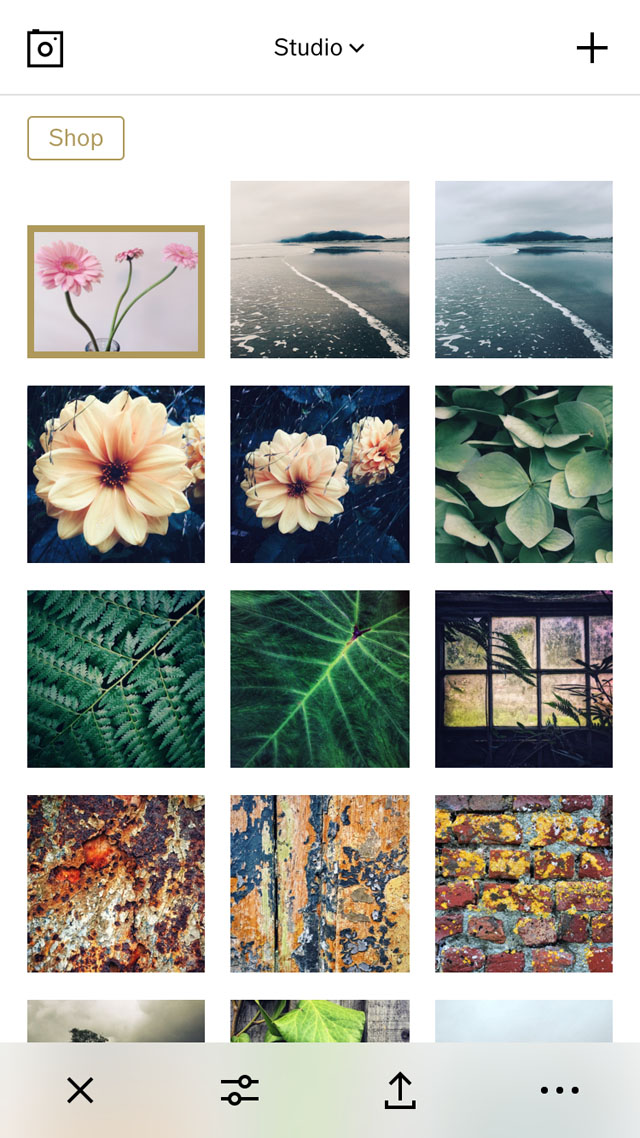
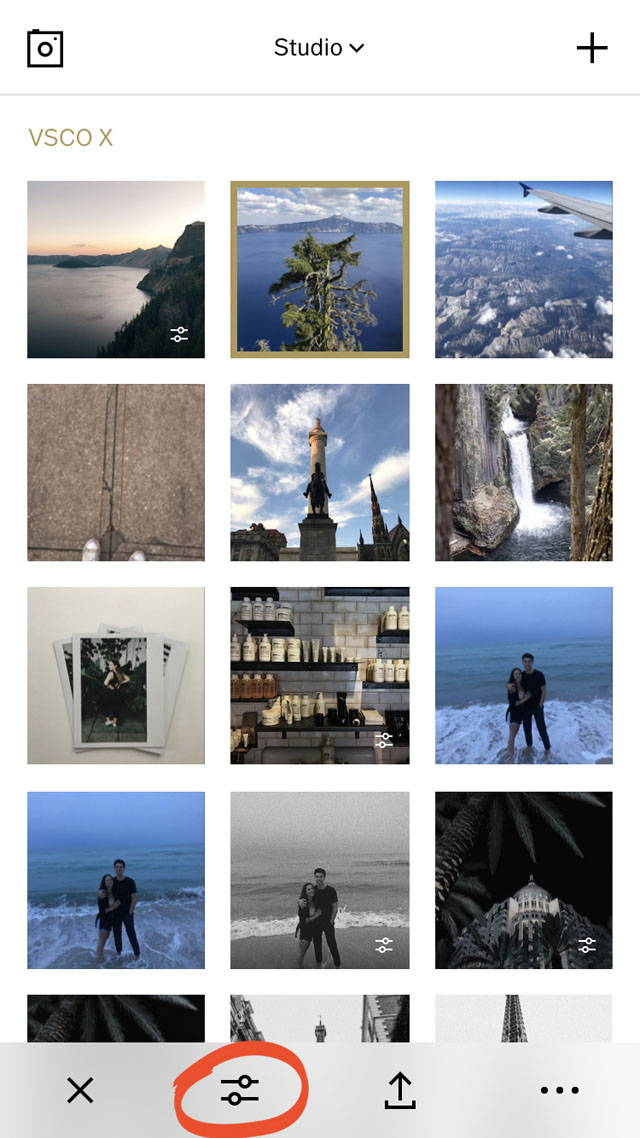
- Select any desired image, click "Edit" button, which is located in lower right corner of the screen.
- Then will appear a list of presets. You can choose any you like; It's also possible to adjust the filter intensity.
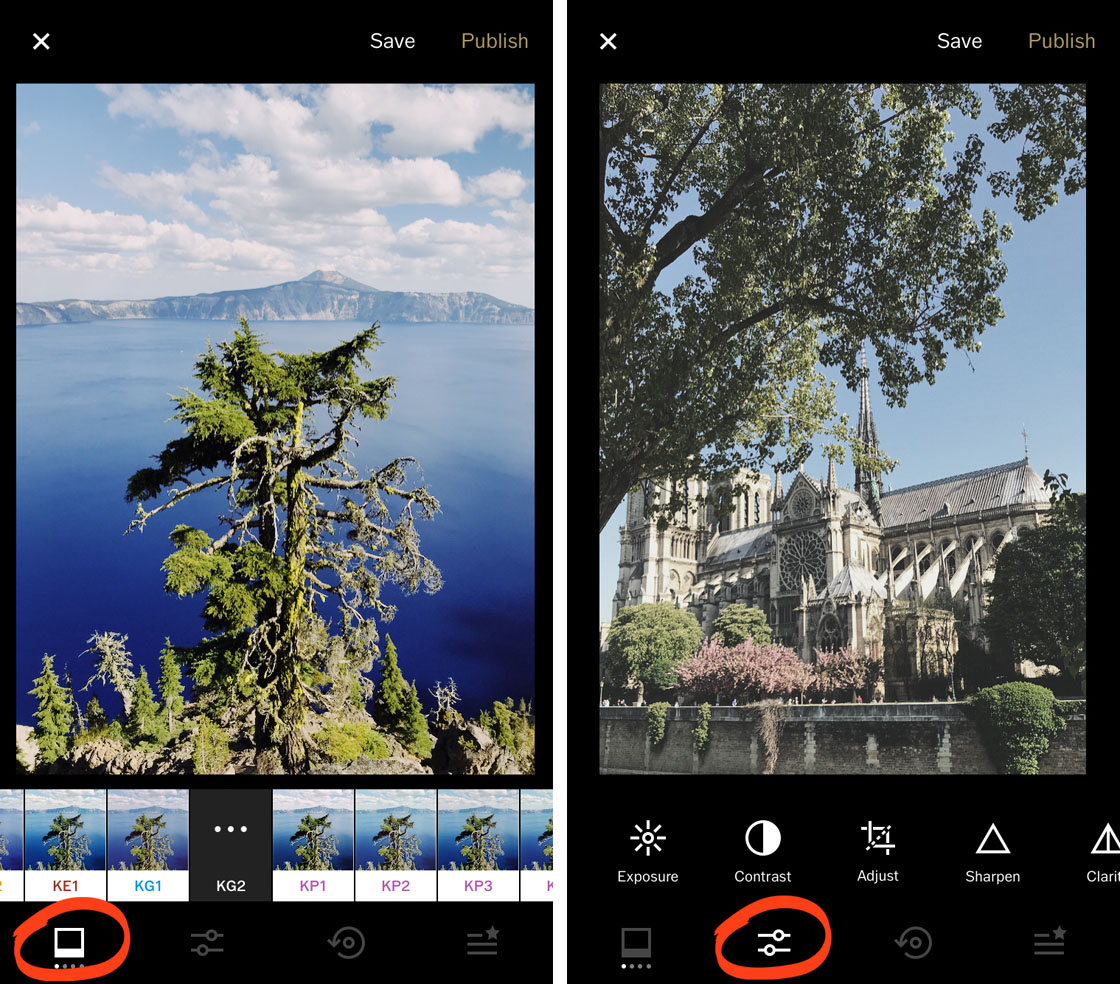
- After you can add additional parameters to your photo using tools from an available list.
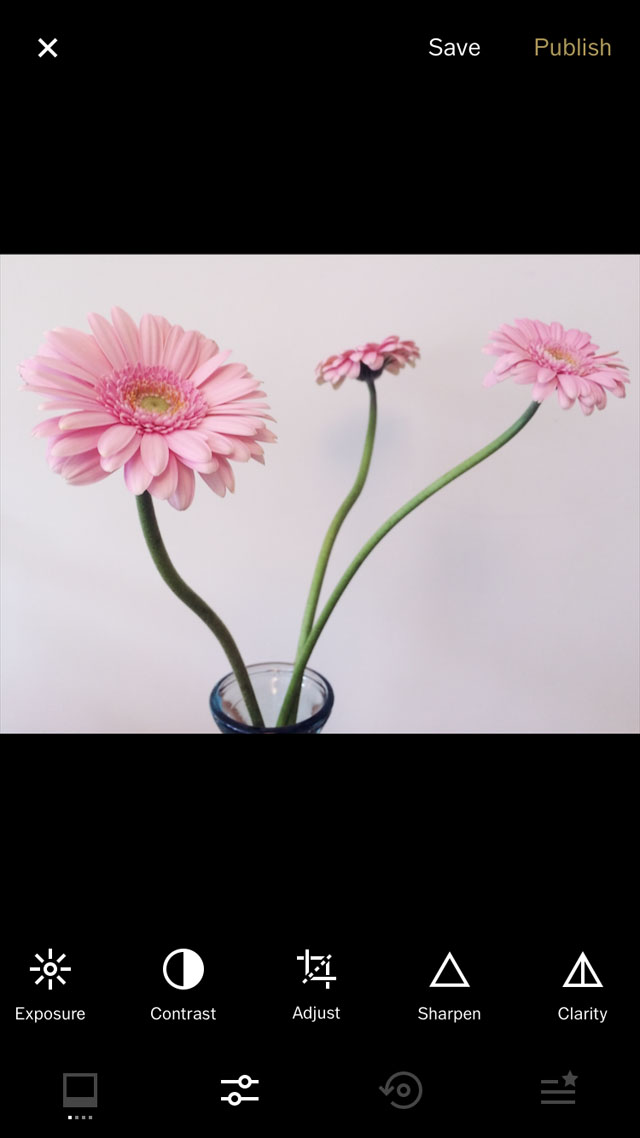
VSCO tools
VSCO tools list includes:
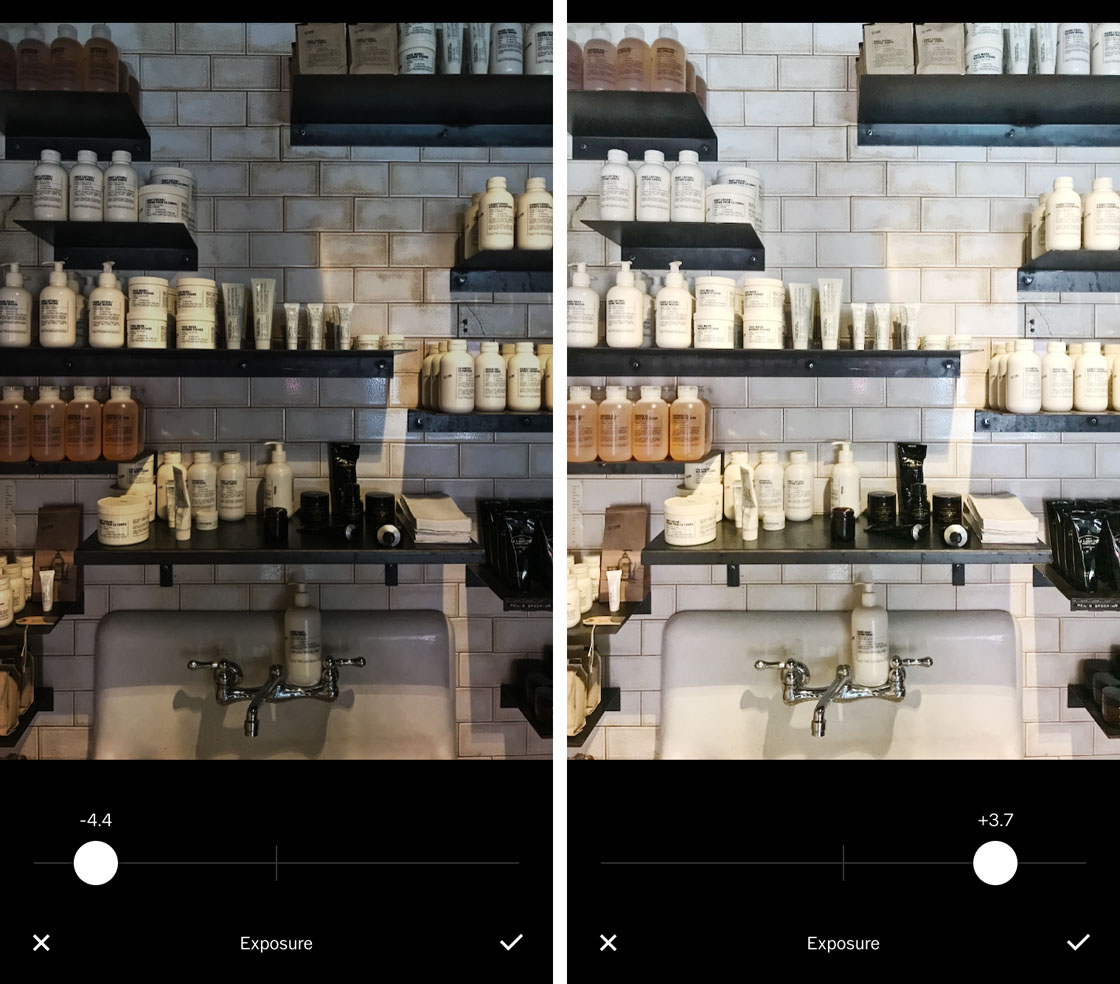
- Exposure. This tool is responsible for shutter speed; shift slider to the right side and your photo will become lighter; respectively, leftwards — darker.
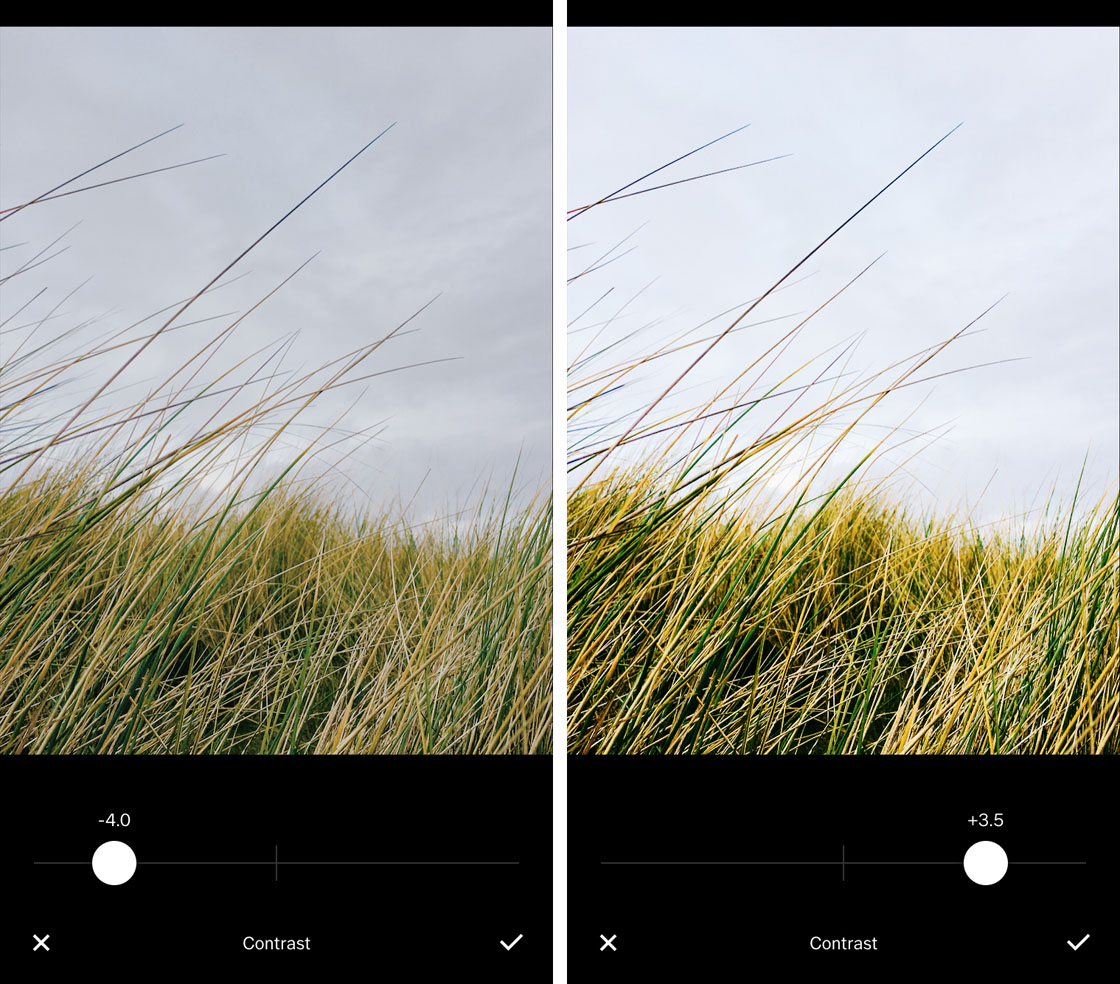
- Contrast. With this tool, you can increase your photo contrast, that is, to make light areas even brighter, and dark — darker.
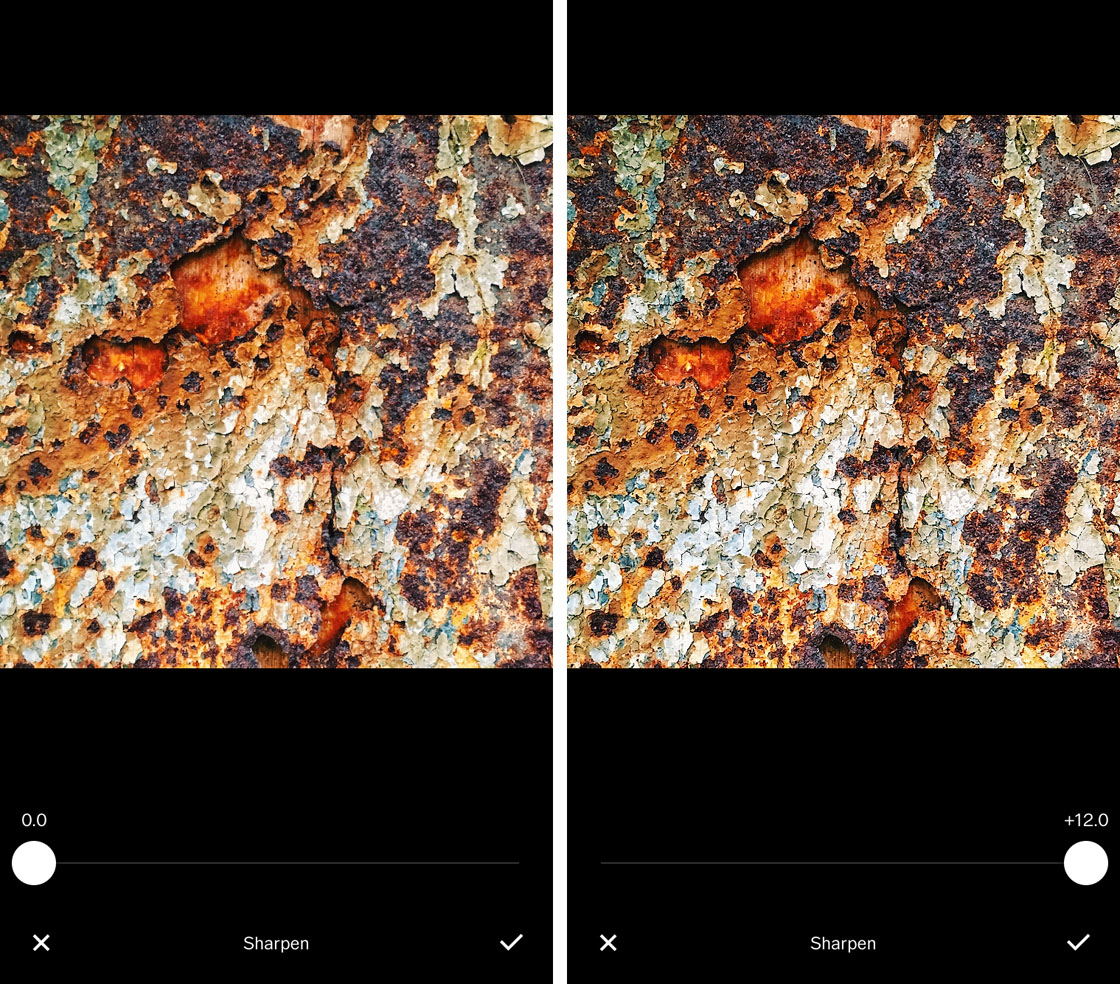
- Sharpen. A very useful feature for Instagram lovers. When uploading a photo to the network, large images are compressed. You can leave your content clear, just like the original. Not recommended for portraits.
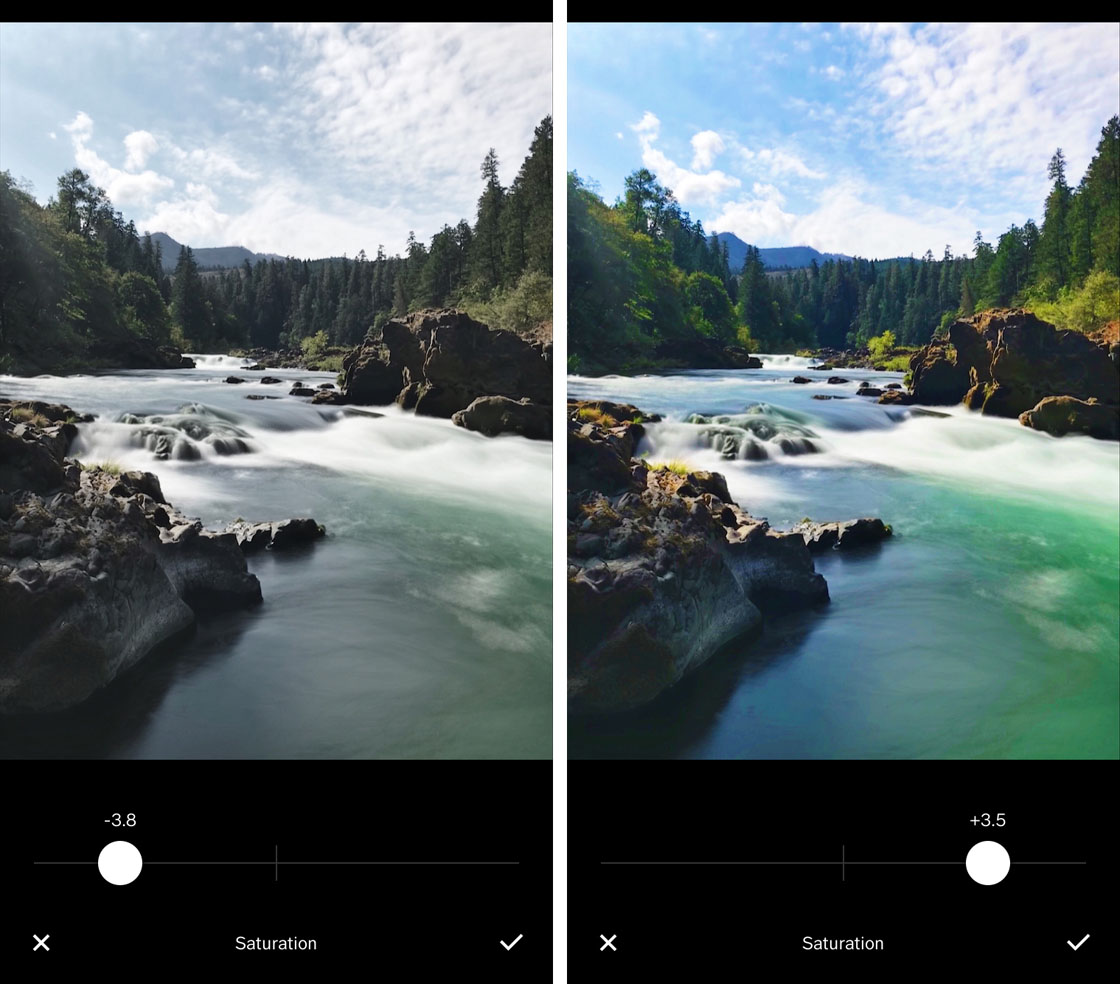
- Saturation. Creates a deeper intensity for the color parts of the photo. For example, the grass becomes greener and the sky — bluer. To do this, shift the slider to the right. If slide to the left, the picture will become much softer.
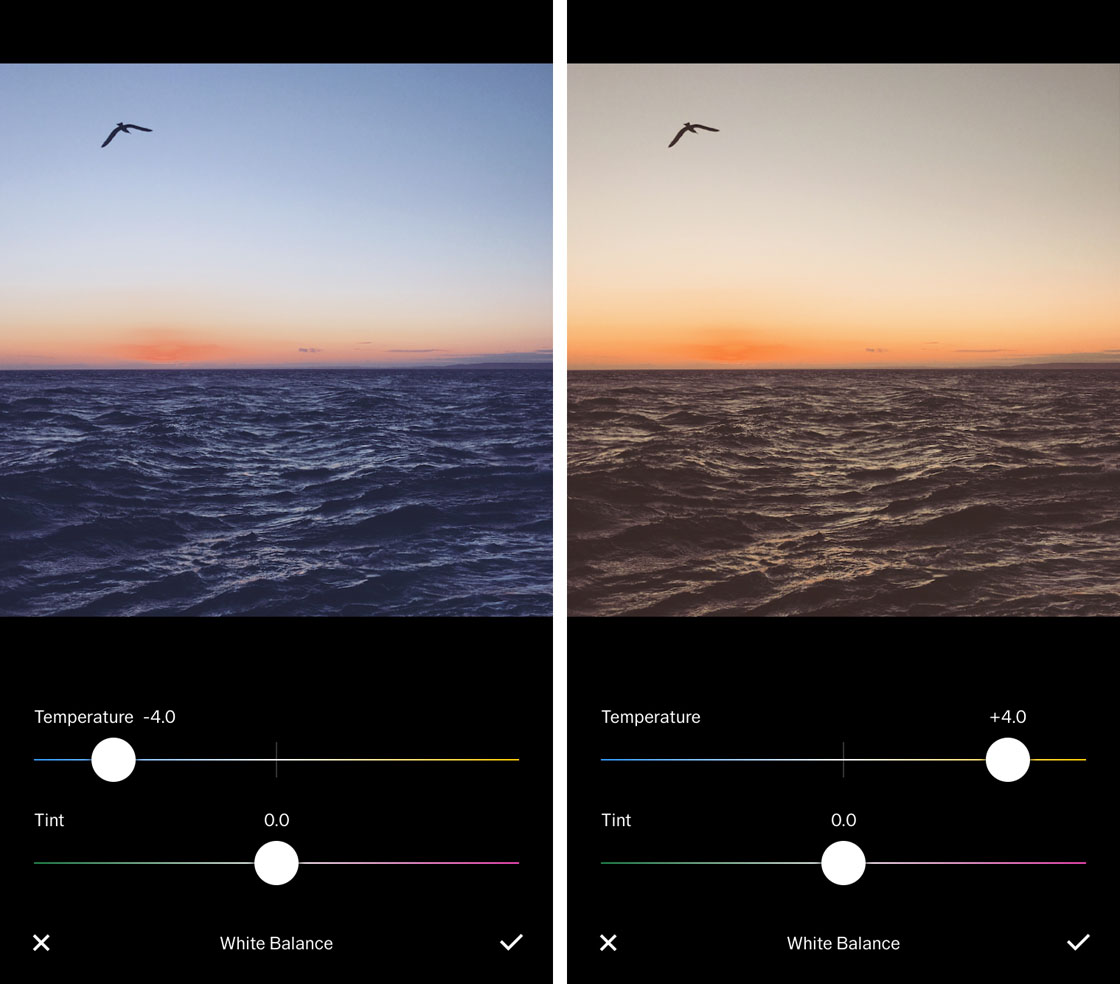
- Temperature. This tool allows you to make a photo more "warm" or "cold."
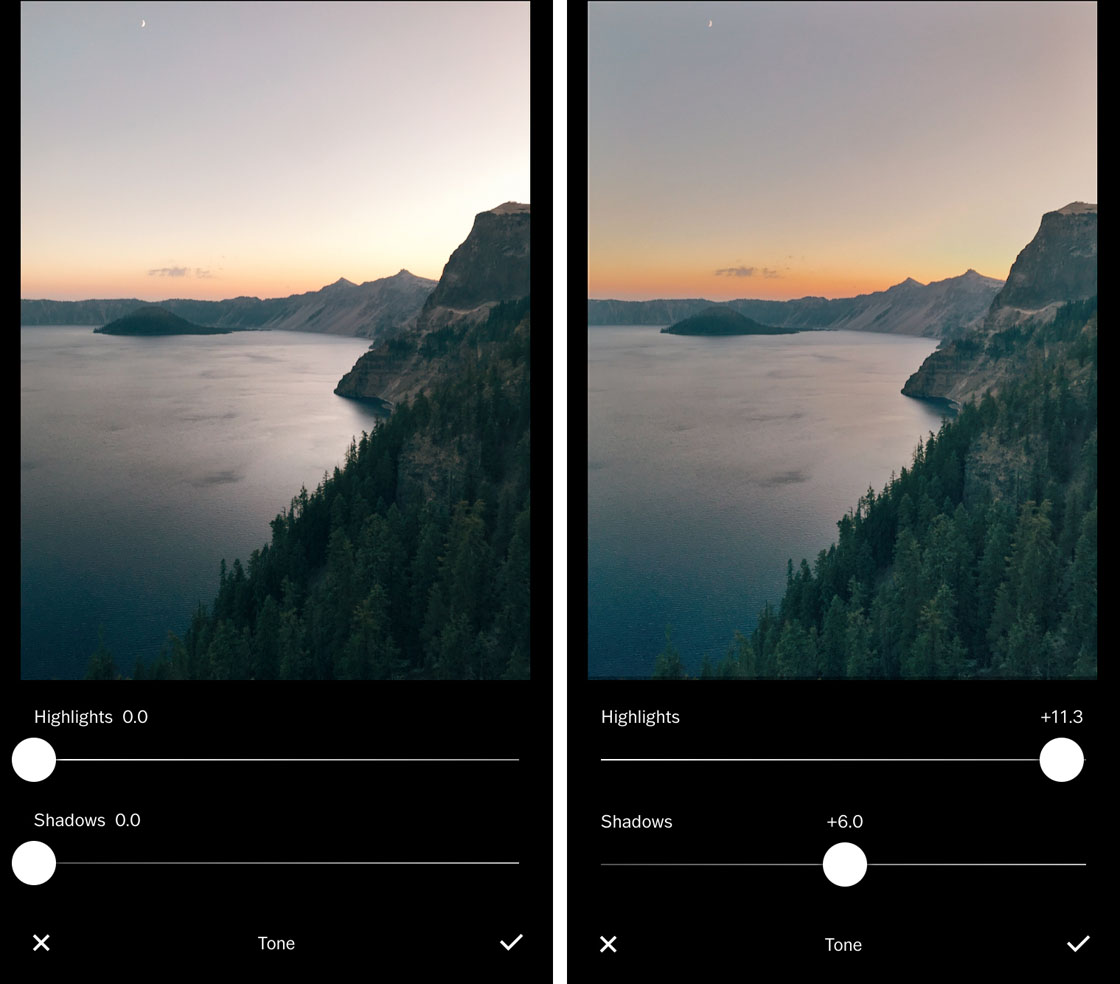
- Highlights and Shadows represent light and dark areas. Used to edit too light or dark parts of a photo.
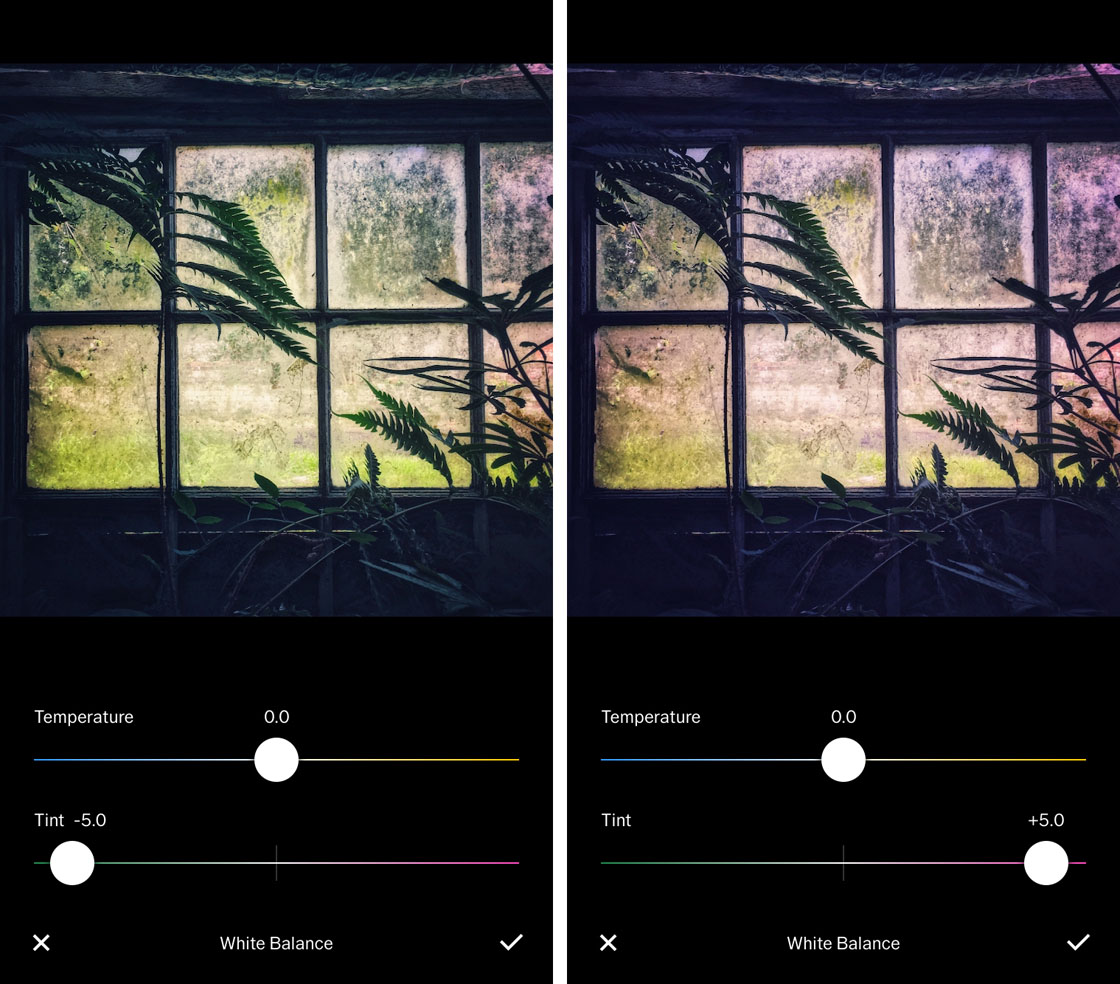
- Tint — Hue. Shift slider to the right and the picture will have a purple hue, to the left — green. It may be useful to edit a photo taken in conditions of artificial lighting.
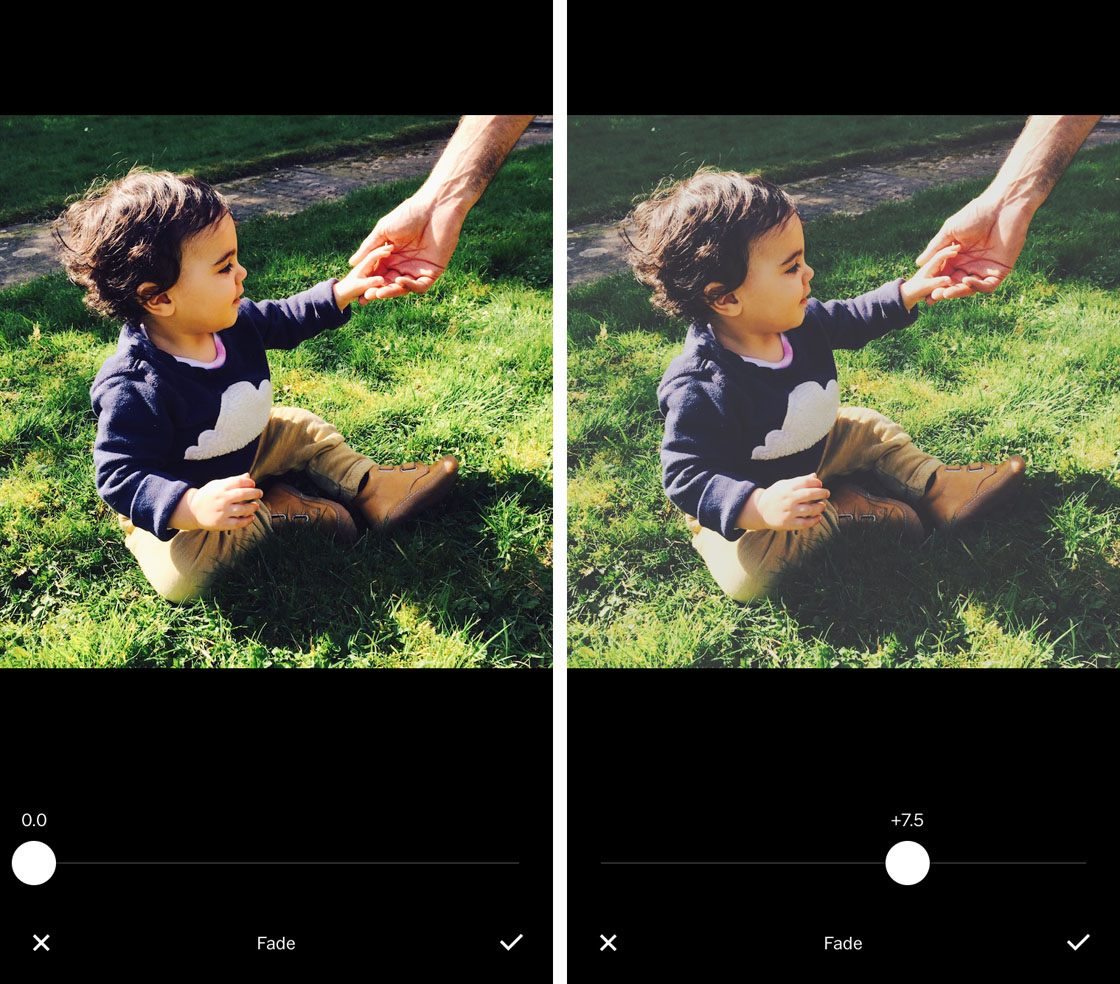
- Fade — Discoloration. It creates a vintage look by lightening the available shadows.
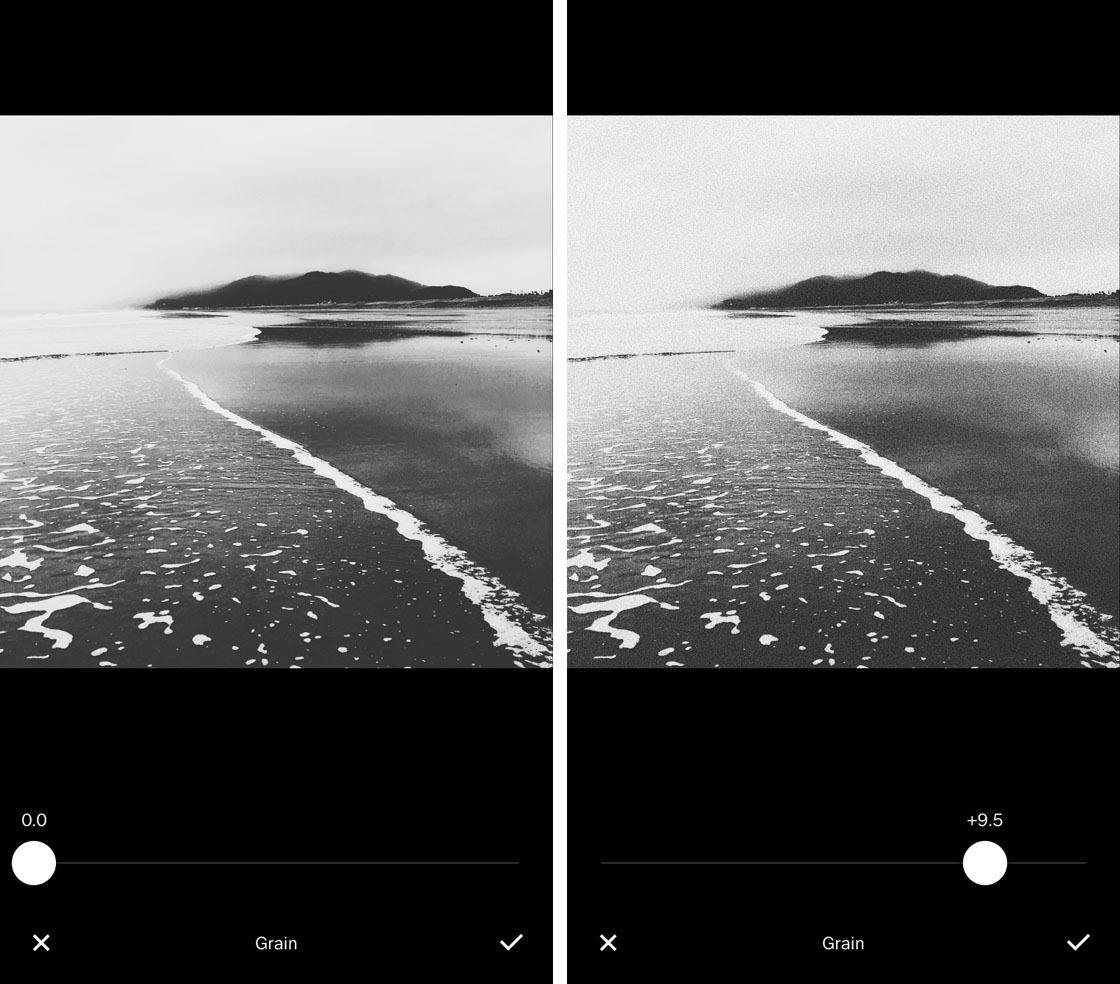
- Grain. The tool allows you to remove the "editorial" style of the photo and make it a little imperfect. Suitable for selfie lovers and is great when you need to remove too smooth, "blurred" skin.
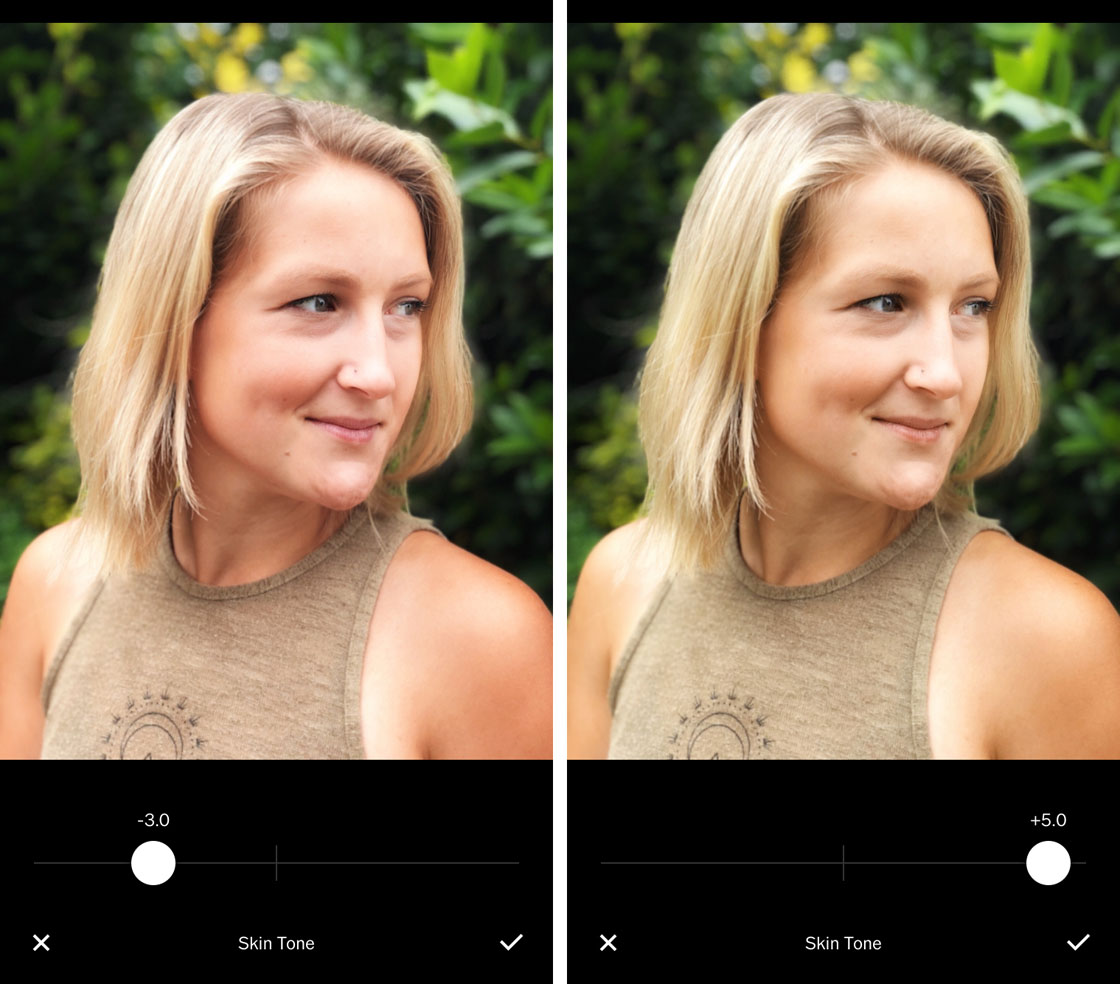
- Skin Tone. Its main task is to edit too dark or light human skin.
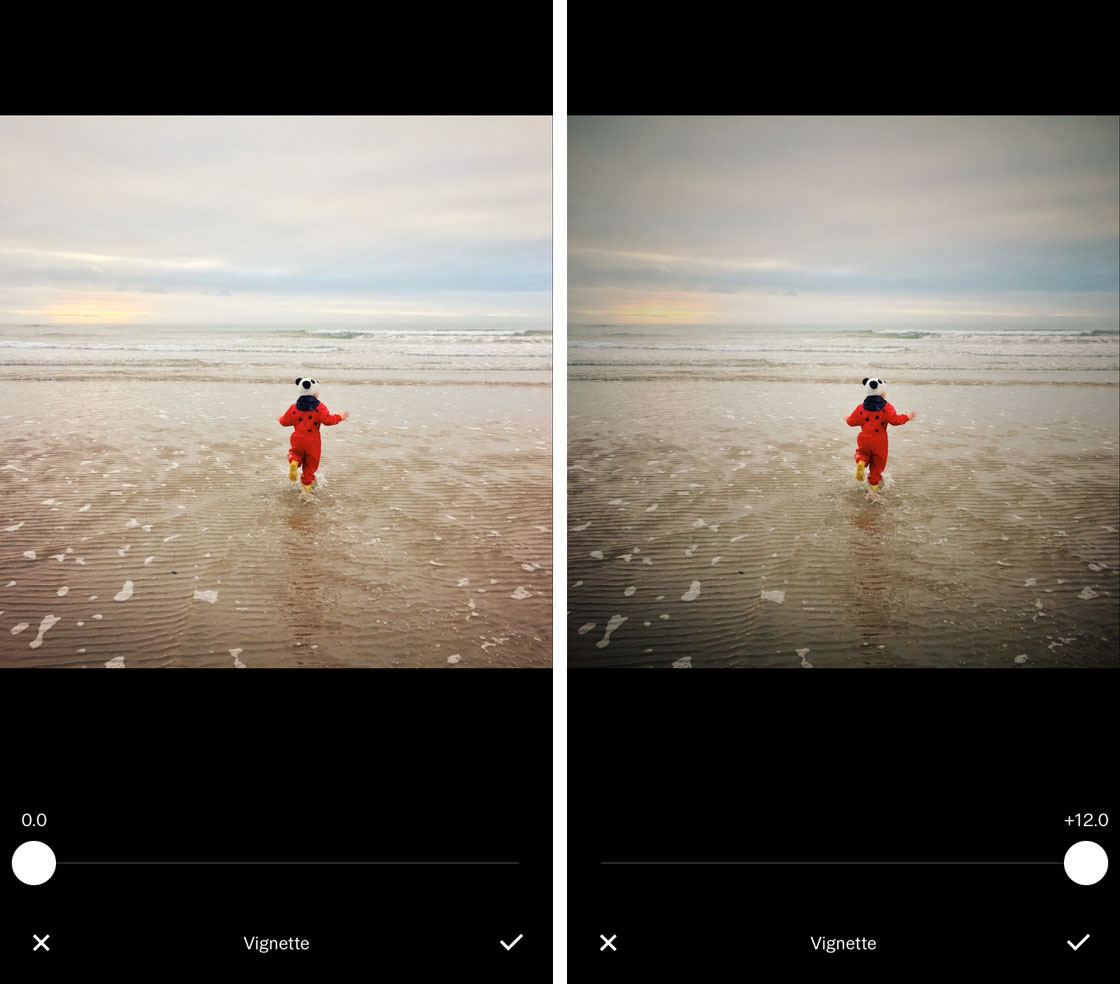
- Vignette. Attracts user's attention to the center of the photo by darkening its edges.
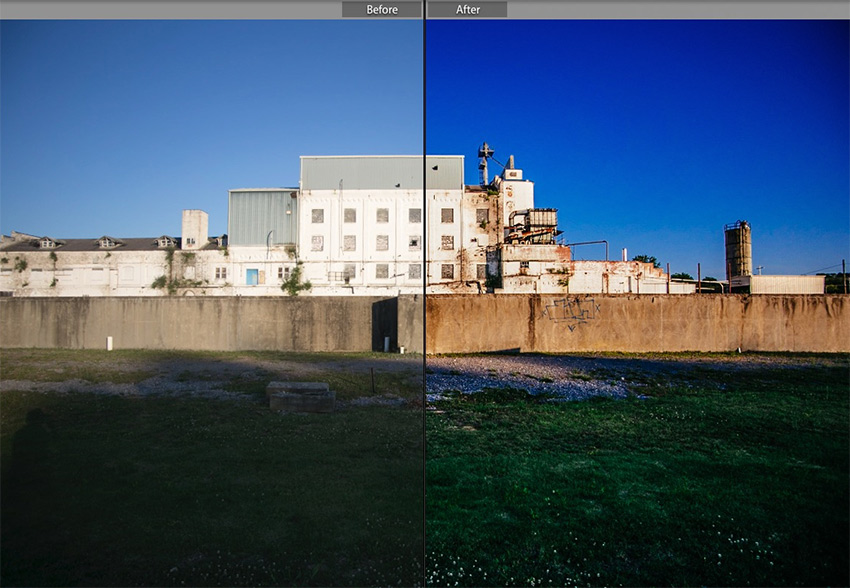
These tools, along with presets and filters, can radically change the source material. It's simply impossible to do something without some available functions. For example, when it's necessary to emphasize “coldness” of winter or high modern buildings. You can also restore an underexposed photo, enhance its depth or focus other's attention on important details.
Wrapping services on Instagram
Topics and ideas for Instagram Live
After all these settings, you must click "Save" button. Now you can evaluate the obtained result.
As you can see, there is nothing difficult in working with this app, and any user can easily create a beautiful and mesmerizing photo, even if previously he wasn't strong in design and photography.
Below are photo examples that were obtained using this editor. You might get even better results! Try and experiment!


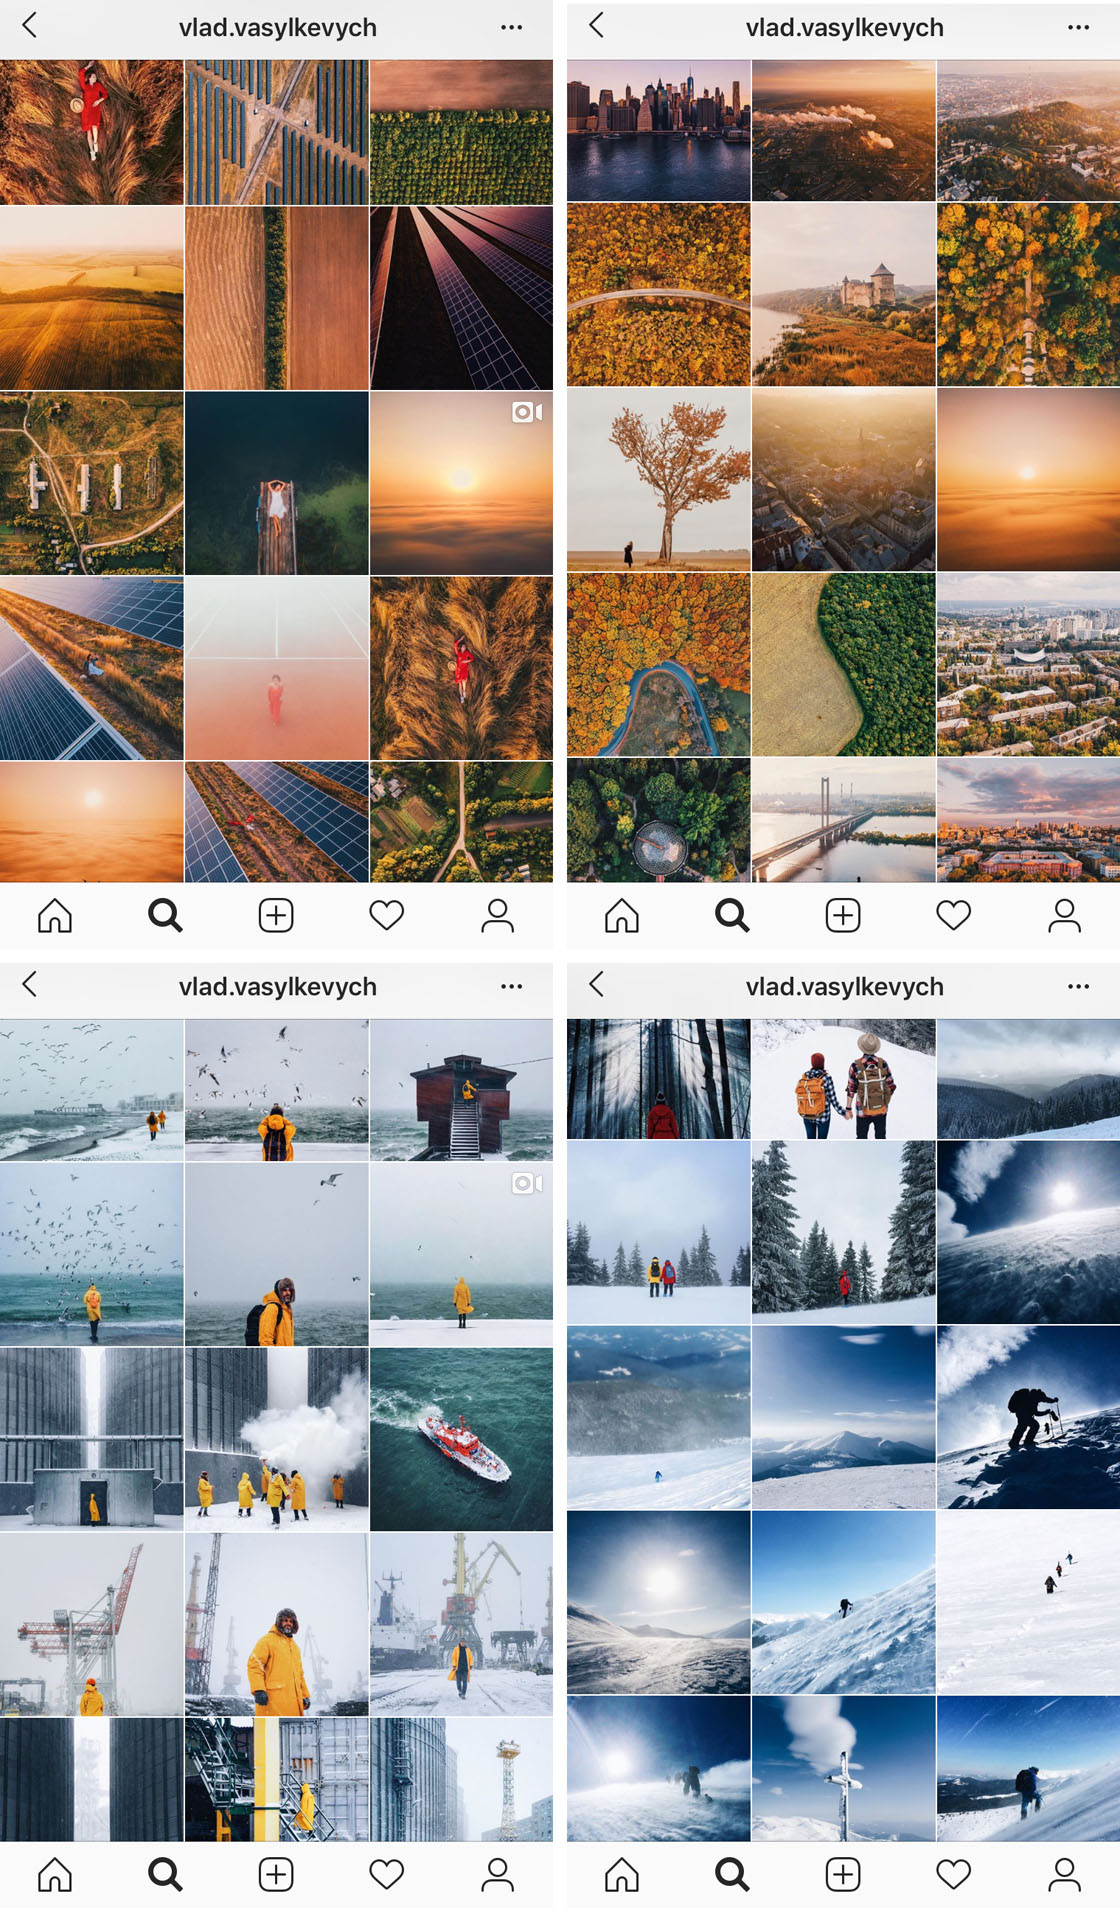
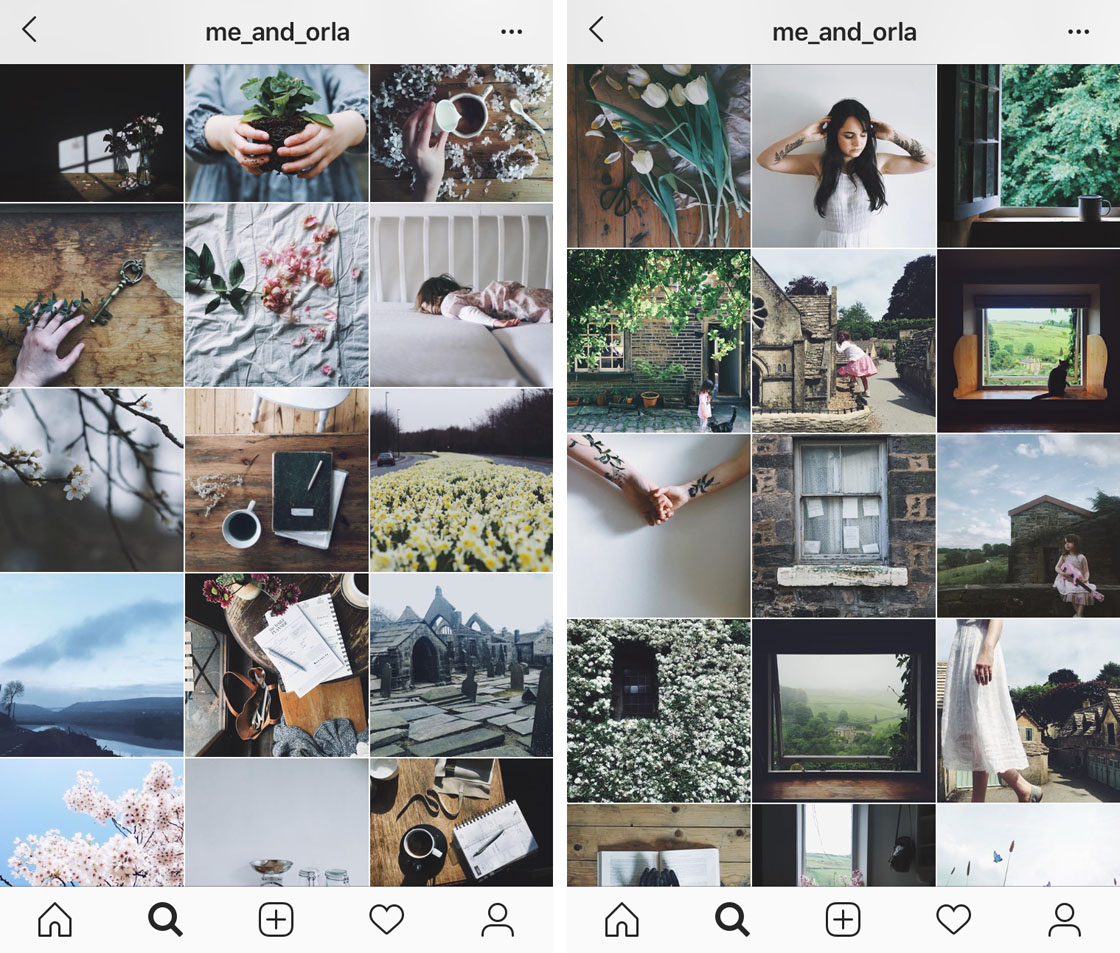
You can also create in such an app some kind of a "recipe" or a sequence of settings and filters for processing images in the same style. This is done, for example, when creating a beautiful profile with an emphasis on some special details. For doing this, select the third tab in the photo editing menu.