Instagram Shopping turns your Instagram profile into a storefront where users can browse and buy without leaving the app. Done right, it shortens the path from discovery to purchase significantly. Here is a practical guide to setting it up and making it actually convert.
Requirements Before You Start
Instagram Shopping is not available to all accounts. You need:
• A business or creator account (not a personal account)
• An account that complies with Instagram's commerce policies
• A product catalog — either through Facebook Commerce Manager or a connected e-commerce platform (Shopify, WooCommerce, BigCommerce, and others)
• Your account must be in a supported market — Instagram Shopping availability varies by country
For accounts in Russia: Instagram Shopping has limited availability due to Meta's operational restrictions in the country. Some sellers use accounts registered to other markets; this comes with its own complications.
Step 1: Set Up Your Product Catalog
Your catalog is the foundation — it's the database of products Instagram draws from when you tag items in posts.
Option A — Facebook Commerce Manager (direct): go to business.facebook.com, create a catalog, and upload your products manually or via data feed. This is the most flexible option and works without an e-commerce platform.
Option B — E-commerce platform integration: if you use Shopify, WooCommerce, or a similar platform, connect it to Facebook Commerce Manager. Products sync automatically — no manual uploads needed.
Product quality matters here: clean background photos, accurate titles, correct pricing, and complete descriptions all affect click-through rate from product tags.
Step 2: Connect the Catalog to Instagram
After creating your catalog in Commerce Manager:
1. Go to Instagram Settings → Business → Shopping
2. Select the catalog you want to connect
3. Submit for review — Instagram reviews each shop before approving
Review typically takes 1-5 business days. Instagram checks that your account, website, and products comply with their commerce policies.
Step 3: Tag Products in Posts and Stories
Once your shop is approved, you can tag products in content:
In feed posts: when creating a post, tap "Tag products" before publishing. You can tag up to 20 products in a single carousel post and 5 in a single image post.
In Stories: use the product sticker to link to any item in your catalog. The sticker appears with the product name and price.
In Reels: product tags appear as a small shopping bag icon. When a viewer taps it, a product drawer appears at the bottom of the screen.
Optimization: What Actually Drives Conversions
Setup is straightforward. Optimization is where most shops fail to reach their potential:
Product photos in-context, not just on white background:
Instagram is a visual platform. Products shown in real-life contexts (worn by a person, used in a setting) convert significantly better than product-on-white catalog shots. Use your feed for in-context imagery; white background works better in the actual shop page.
Consistent product tagging:
Tag products in every post where they appear. Inconsistent tagging means missed purchase moments. Train yourself: if a product is visible, it should be tagged.
Use Stories for urgency:
Product stickers in Stories with limited-time offers or new arrivals create urgency that feed posts don't. Stories disappear — which paradoxically makes time-sensitive offers more effective there.
Build your audience quality:
Shopping conversion depends heavily on audience trust and relevance. An account with 8,000 engaged followers who are actual customers converts far better than 25,000 followers with 20% bots and irrelevant accounts.
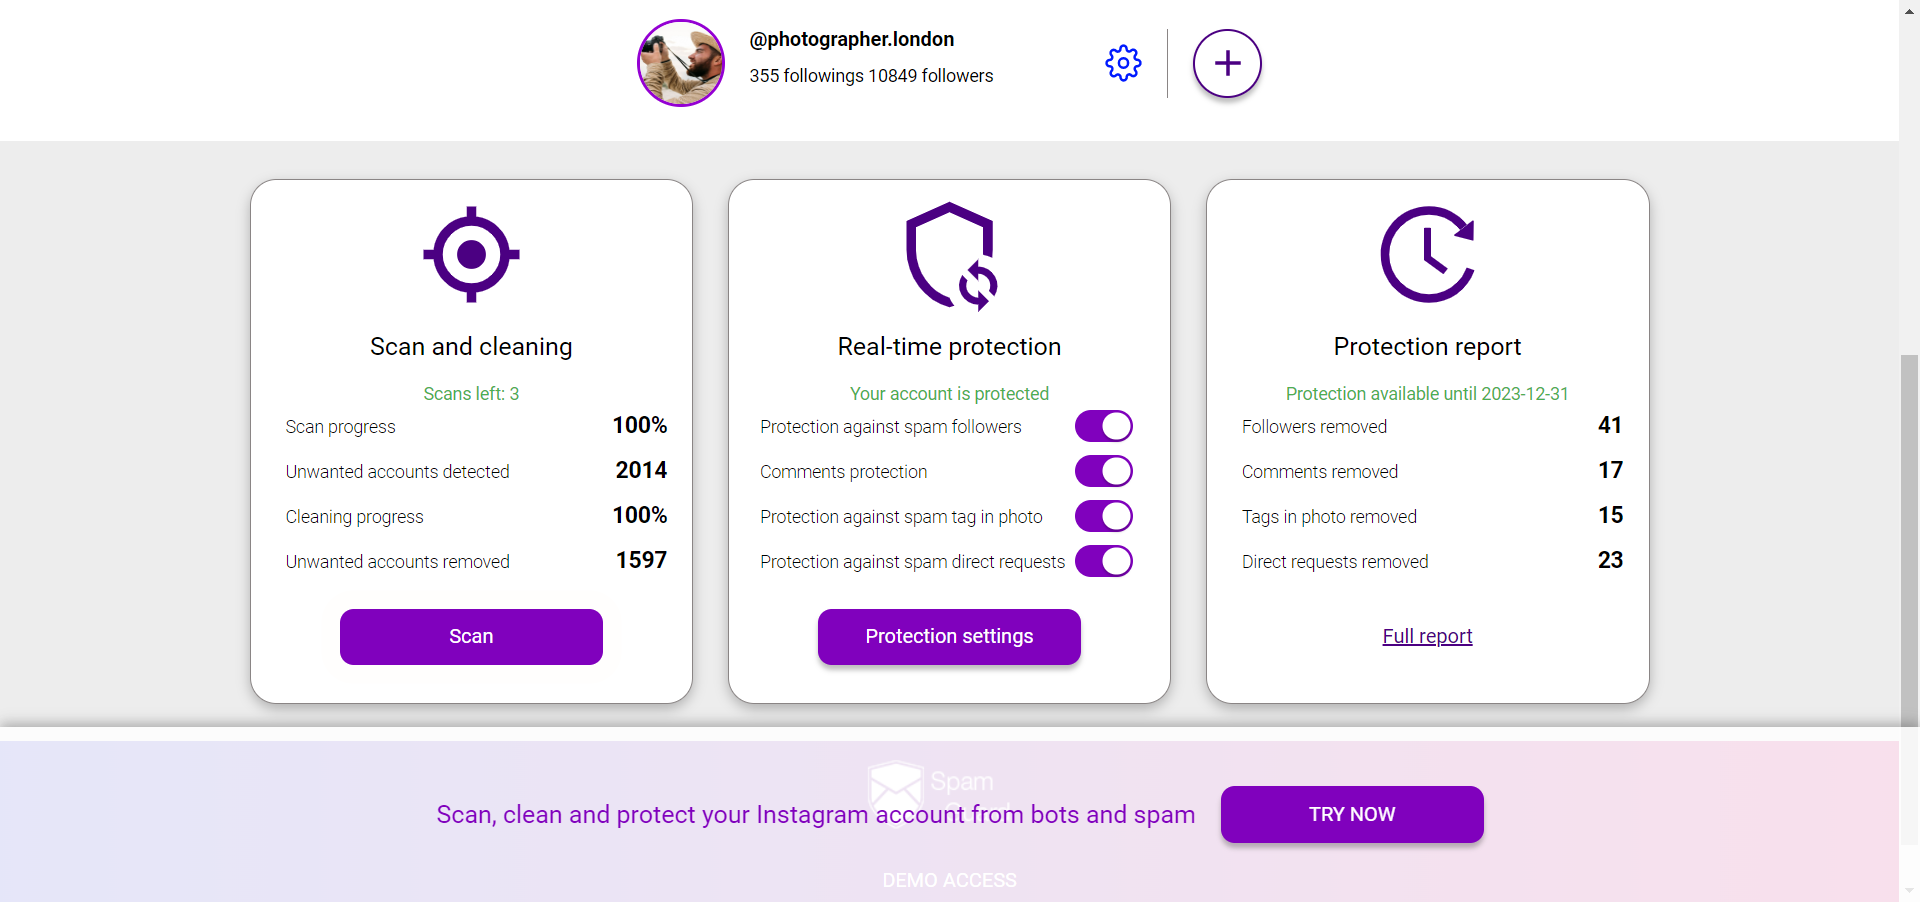
Before launching a Shopping push, audit your audience with SpamGuard to remove dead weight. Conversion rate on product tags is directly tied to how relevant your audience is.